When shopping for your next stem you may find yourself overwhelmed with options. Or you might be the type who defaults to the same size you’ve ran for years without any consideration of switching. Regardless of where you stand, this article is aimed to help you better understand the differences between stems, and showcase how different sizes could help increase your comfort and control on the bike.
Often times, the variations between stems is just a few millimeters, but these small difference really add up!
There are two common stem types you need to know about
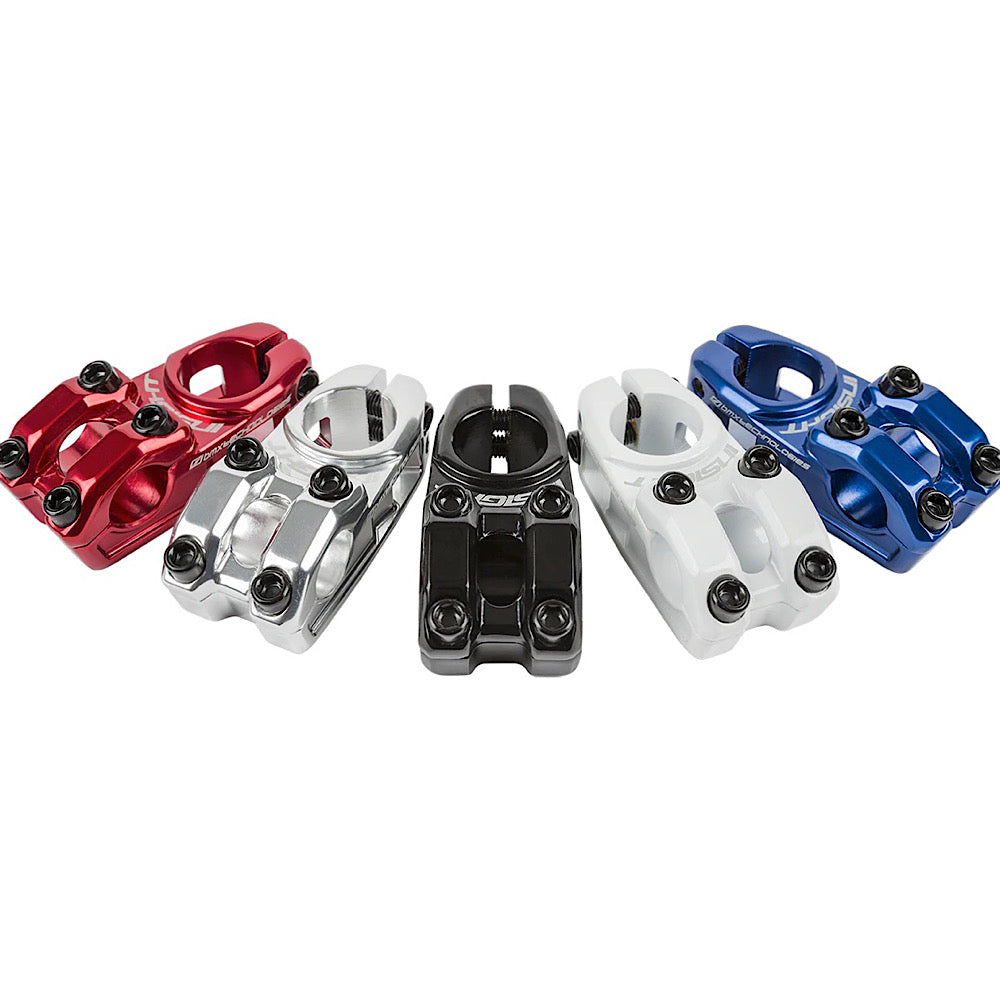
Top Load Stem

Top Load stems feature a clamping area that sits above the stem’s base. As a result, Top Loads hold the bars above the stem, using the material underneath for support. These are arguably the most common stem and tend to be the industry standard.
Top Loads are considered the strongest style of stem. Thanks to the placement of the clamping area, the stem’s body underneath is responsible for most of the supportive work during hard impacts. This means little to no pressure is placed on the bolts, allowing the bolts to perform the sole purpose of retaining a tight grip on the bar.

There will be some slight variations between brands, but for the most part, Top Load stems raise the bars 15mm (.59 inches). Top Loads make the overall handlebar height and cockpit taller. An 8inch rise handlebar, paired with a top load stem is closer to 8.5 inches of rise. Since the handlebars sit on top of the stem, the actual rise of the handlebar is increased. Keep this in mind whenever shopping for your next handlebar.
Front Load Stem

Unlike Top Load stems where the bar sit onto of the stem, Front Loads stems feature a clamping area at the front of the stem.
Front Loads hold the handlebars in front of the stem and slightly below the stem. Because of this, Front loads decrease the final rise of your handlebars by about 15mm (.59 inches). Again, there may be slight variations between brands, but 15mm is the typical spec for most front loads.
An 8 inch handlebar, clamped to a front load is closer to a 7.5 inch rise.

Racers have have started to adopt the idea of lower handlebar settings as it produces a more aggressive riding style. A lower front end keeps your center of gravity lower and pushes your weight further to the front, thus increasing front wheel traction whenever cornering. These are a few of the many reasons Front loads are beginning to regain popularity in today’s racing environment.
However, Front loads are considered to be marginally weaker than Top loads because more stressed is placed on the bolts during hard impact. In all my years of racing, I have never seen one fail. And I currently run a front load stem myself. But to remain completely transparent and accurate, Front loads are technically weaker. But only slightly!
Reach

Aside from Top load vs. Front load, you also need to decide on a reach setting for the stem. The reach is the total length of the stem, or rather, how far away the handlebars are from the steertube. The higher the number, the further away the handlebars are from the steertube. You can think of Reach similar to TopTube length on frame. If the front end feels too close, grab a longer stem.
Ideally, you want the shortest stem possible that still allows for proper bike fitment. If you find yourself always looking for longer stems, ie. 57mm and up, then you probably need a longer frame (top tube) and you’re using the stem to compensate.
Shorter stems produce more responsive steering. Longer stems produce laxer steering making the front end less responsive. Keep in mind that this effect is compounded by how much you’re adding or removing. If you go from a 57mm stem to a 56mm stem you won’t notice a thing. But go from a 57mm to a 48mm and you might just feel the difference.
You can use the Reach of a stem to accommodate for a frame that is too large or too small. While the best solution is to get a new frame and have a short stem, purchasing a new stem will be a cheaper alternative and allow you to get through a season before needing to purchase another expensive race frame.
22.2mm vs. 31.8mm

31.8mm or ‘Oversized’ handlebar and stem combos are starting to grow in popularity. We’re seeing more and more bikes roll into the shop outfitted with oversized stems and handlbars.
The term ‘oversized’ is referring to the clamping area on the handlebar and stem. Traditional stems feature a 22.2mm clamping area. The enlarged 31.8mm clamping is area is supposed to increased front end stiffness and the grip the stem has on the handlebars. By running a 31.8mm stem and handlebar combo, you’ll experience less slippage from hard impacts (handlebars are less likely to move from a large impact).
Both systems work great. 31.8mm stems and handlebars tend to cost a bit more because of the increased material used for production. So if you’re on a budget, stick to the traditional clamping style. Another con for 31.8mm clamping is that parts aren’t as readily available, and you’re somewhat restricted with your options for reach and handlebar size. This is because not every company has 31.8mm options and if they do, they only offer limited sizes and varieties for that clamping style. So if you’re looking to keep your options open, stick to the traditional 22.2mm. However, if you’re willing to sacrifice a bit of freedom and weight for increased performance, then 31.8mm is for you.
Other Considerations
As you can see, stems offer a lot of versatility when it comes to bike fitment. There are various options for you to dial-in your front-end settings. Here are a few more notes to allow you even more options for bike fitment.
- While it’s not recommend by the manufactures, stems can also be ran upside down. Top Load stems that create a rise in handlebar height can be flipped upside down to act more like a Front Load.
- Upside down stems place a lot of stress on the bolts. Because the stem was never intended to be run this way, it does make the stem somewhat weaker and more likely to fail. However, it’s still unlikely for it to fail as there are multiple elite pros on the gate who run upside down stem.
- If you’re on a budget and willing to take the risk you could quickly make your Top Load act like a front load without needing to purchase a new stem.
I would only recommend doing this if you want to try out what a lower handlebar setting feels like. You could run the stem upside down for a few sessions and see if you like it. After you’ve completed your testing, look to order the proper stem or handlebars for your needs.
To shop our full collection of stems, Click Here. We have stems of all different shapes and sizes. You’re bond to find your perfect match!
Still have questions? Feel free to give us a call and we’d be more than happy to help you pick your next stem today!